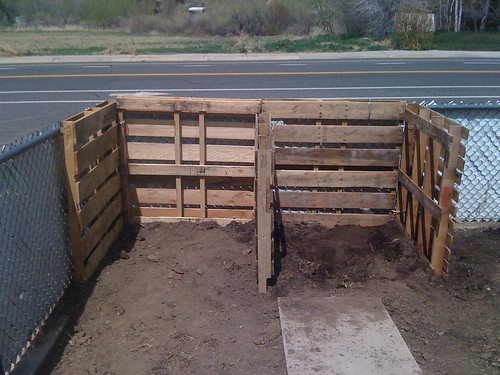
To fully and personally take advantage of this benefit, however, means that one must have a compost bin. After moving into our new house, we decided where to best place the compost bin so as to avoid stench complaints from the neighbors. What better place than on the main road, away from other houses, where teenagers are walking to high school each day!? (Okay, there probably could've been better places, but in cleaning that part of the garden, we found a lot of trash that these ruffians probably threw over the fence anyway, so why not give them a proper receptacle for their trashy behavior?)
After choosing this location, digging up a giant grape vine stump that had lived there for far too long, and waiting for the snow to melt, we were finally ready to build our bin.
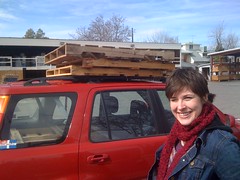
My husband, Jamund, did his research about compost bins, using various online sources and the following books: the Reader's Digest 1001 Hints and Tips for Your Garden (awesome book) and The Self-Sufficient-ish Bible (equally awesome book).
We then made some calls to find wooden pallets for sale (we found some at our local Sunroc for about $1.50 each):
Jamund then dug little trenches in the garden where he wanted to place the pallets so they would all be roughly the same height (although the middle pallet separating the two sides of the compost bin is slightly lower to make it easier to transfer old compost from one side to the other).
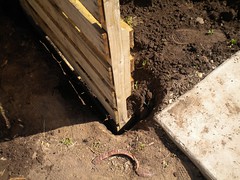
After digging the trench:
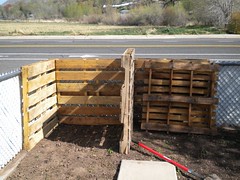
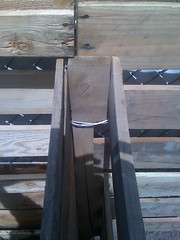
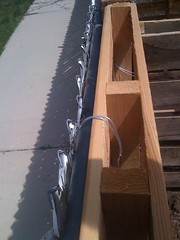
The next step, once all the pallets were in place, was to secure them to each other. We had read about many different options for doing so, but we decided upon using some wire that we bought at Home Depot and simply wrapped it around the pallets at crucial locations like:
1. Corners
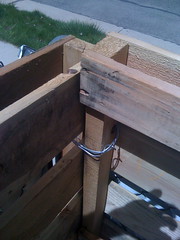
2. Joints (where the two sides of the bin meet):
3. And to the fence itself:
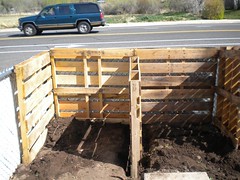
We ended up with a sturdy and rather large compost bin. We now just have to fill it up with appropriate items (meaning things that are compostable and will not invite rats and the like) and get it going with some manure.
We are so excited to have the compost bin and designated an old waste basket as our "compost" basket. It lives right outside the kitchen door in the garage, and we put all scraps of fruit, bread, etc. in it. Then we just take that little "compost basket" out to the garden once it gets pretty full (or smelly) and dump it into the compost bin. It is so exciting to not throw out these "natural" things (and even seemingly "unnatural" things like paper towels or napkins)! Jamund is also dumping the grass clippings from mowing the lawn into the compost bin. Better there than the landfill!
Once we have a good amount of compost, we plan to add "railings" to the front of the bin so that the compost doesn't just spill out of the bin. We are going to use some old wood that was left at the house for this purpose. We'll keep you updated!


0 comments:
Post a Comment